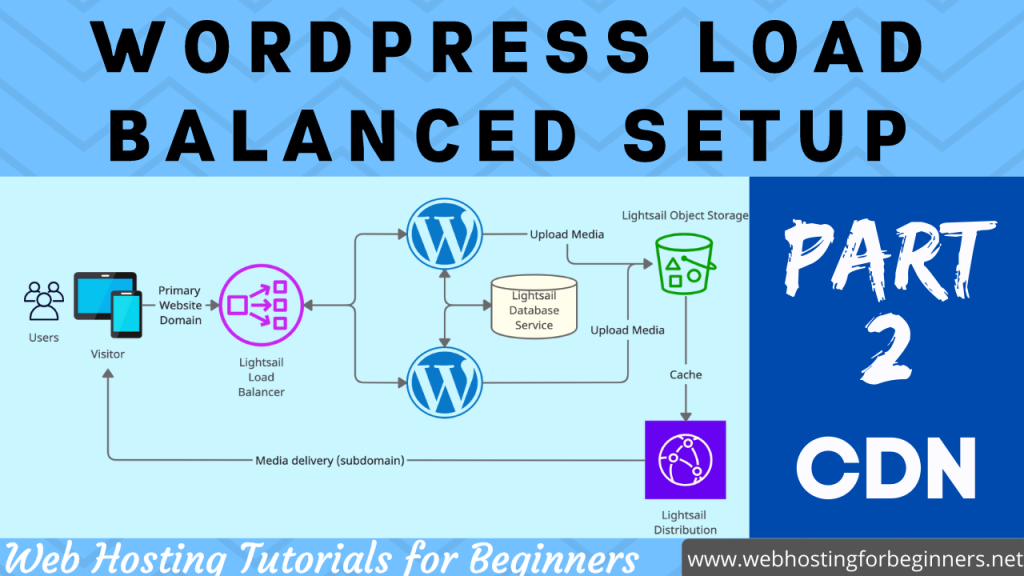
In this video tutorial I will show you 5 tools that will help you manage your server and website.Some of these tools are not specific to Lightsail so they should work on any VPS or dedicated server you may have however I’ve only tried these on Lightsail. Also note that most of these tools are free or open source; but some could be paid.
SSH Tools
- Download Putty and Puttygen (https://www.chiark.greenend.org.uk/~sgtatham/putty/latest.html)
- For Ported PuTTy for Mac see this link: (https://www.ssh.com/academy/ssh/putty/mac)
- Download .pem Key from AWS Account for the region you have servers running.
- Convert the .pem key to .ppk key using puttygen
- Open Putty
- Enter IP Address of the server
- Go to Connection/SSH/Auth
- Load the ppk key you generated in step 3
- Press Login/Open
- Type in Username bitnami (or whatever if your username)
- Save the session for future use
- Download Bitvise ( https://www.bitvise.com/ Windows only)
- Type in IP Address
- Type in username
- Select Initial method as publickey
- Click on Client key manager
- Import .pem key
- Use the .pem key to login
- Save Profile
PHPMyAdmin using SSH Tunneling Setup
- Open Putty settings
- Go to Connection/SSH/Tunnels
- Add new forwarded port: Source port type 8888
- Destination type 127.0.0.1:80
- Click Add
- Click Apply
- Check by loading http://127.0.0.1:8888/phpmyadmin in browser
- PHPMyAdmin should load.
- Open Bitvise
- Click on C2S tab
- Click on Add
- Listen Interface should be 127.0.0.1
- Listen Port 8888
- Destination host: localhost
- Destination port: 80
- Save Profile.
- Reconnect
- Check by loading http://127.0.0.1:8888/phpmyadmin in browser
- PHPMyAdmin should load.
SFTP Setup with Bitvise and Filezilla
- With Bitvise, SFTP is included with the program, click on New SFTP Window
- Download and install Filezilla
- Open Filezilla
- Click on Site Manger
- Click on New site
- Give it a name
- For Protocol select SFTP
- Type IP Address in Host
- Port type 22
- Logon Type select Key file
- User type bitnami
- Select the pem key
- Connect
Debugging issues in SSH
- Open SSH
- Using the VI editor
- Using nano editor
- Bitnami restart commands
- Sudo /opt/bitnami/ctlscript.sh restart servicename
- Logs
- Error Log: /opt/bitnami/apache2/logs/error_log
- Access Log: /opt/bitnami/apache2/logs/access_log
- PHP FPM Log: /opt/bitnami/php/logs/php-fpm.log
- PHP FPRM Log on older instances: /opt/bitnami/php/var/log/php-fpm.log
Website Monitoring
- Lightsail Alarms (https://youtu.be/eBkSJeQ3YBw)
- Uptime Robot (https://youtu.be/PF0TQkAUoK0)
- Uptrends
- Montastic
All videos tutorials on the website as well as the YouTube channel aim to provide a simplified process for a specific scenario; there could be many different factors and unique use cases you may have. The tutorials may not cover every situation; so treat is as a starting point or learning concept to apply to your unique situations, and consider this inspiration but not prescription or explicit direction.


