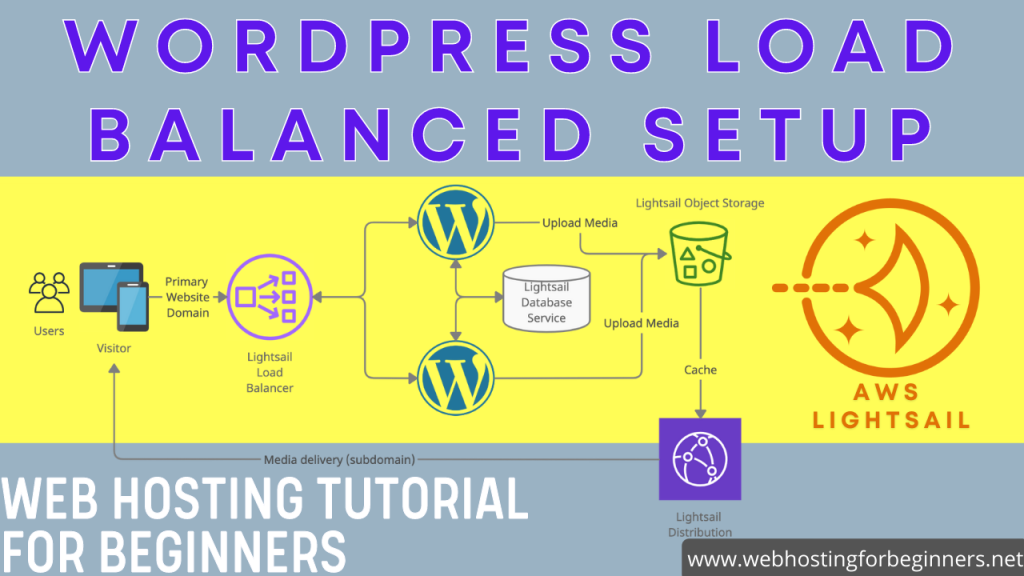
In this video tutorial I will show you how to install and configure Redis cache. Redis is a object level caching mechanism that will cache your database queries in memory. It’s technically a data store itself but using it with your WordPress database will speed up your site.
Also object level caching is different from a CDN; I’ve done a video tutorial on setting up a Lightsail CDN service with WordPress, you may want to checkout if your interested. CDN caches your websites static assets at the edge level so its replicating all of your images/CSS/JS and other static files all around the world so that when a visitor requests the site those files are served from the closest location to that visitor making it faster. Redis is essentially caching your dynamic queries in memory making the site faster as well.
Keep in mind I am using Bitnami WordPress blueprint in AWS lightsail for this tutorial. If you have a different setup of LAMP/Wordpress, some of these commands will be slightly different. Also for these steps you will need your own VM or full access to your server instance via SSH. If you have shared hosting this is not for you; however your hosting provider may already have all these configurations done for you so you might just have to perform the WordPress steps. Check with your hosting provider. If they don’t have this and are not willing to enable it for you then its’ time to switch hosting providers. AWS Lightsail is great platform to migrate to from a shared hosting environment.
Steps:
- SSH into your server and run update commands, especially if this is a new instance
- sudo apt-get update
- sudo apt-get upgrade
- Install Redis Server
- sudo apt-get install redis-server php-redis
- Add or uncomment following lines to the
redis.conffiles at/etc/redis/redis.confmaxmemory 256mbmaxmemory-policy allkeys-lfu
- Restart services
sudo systemctl restart redis-serversudo /opt/bitnami/ctlscript.sh restart php-fpm
- Install php-redis extension
- sudo pecl install redis
- Update php.ini to include the new extension
- sudo vi /opt/bitnami/php/etc/php.ini
- add
extension=redis.soto the file and save
- Restart all services
- sudo /opt/bitnami/ctlscript.sh restart
- Verify extension module is enabled
php -m | grep redis
- Verify redis is installed and enabled
redis-server --versionnetstat -lpan | grep :6379
- Install and activate redis plugin for WordPress
- Search for redis and install the redis plugin
- Modify the wp-config.php. Add the following two lines to the wp-config. Replace domain.com with your site domain
define( 'WP_CACHE_KEY_SALT', 'domain.com' );define( 'WP_CACHE', true );
- Enable the Object cache in the Redis plugin.
- Monitor Redis activity on SSH
redis-cli monitor
⌚ VIDEO TIMESTAMPS
- 00:00 – Introduction
- 00:58 – Redis and Caching Overview
- 02:55 – Backup Reminder!
- 05:09 – SSH into Server
- 05:43 – Update and upgrade server packages
- 06:24 – Install Redis server engine
- 07:06 – Verify Redis installation
- 07:50 – Configure Redis and Restart Services
- 09:38 – Install PHP Redis extension
- 10:05 – Update php.ini file to enable extension module
- 11:07 – Restart LAMP Services
- 12:00 – Install and Activate Redis Plugin for WordPress
- 12:42 – Add Cache Configuration to wp-config.php file
- 13:52 – Enable Object Cache in WordPress Settings
- 14:20 – Redis CLI to monitor activity
All videos tutorials on the website as well as the YouTube channel aim to provide a simplified process for a specific scenario; there could be many different factors and unique use cases you may have. The tutorials may not cover every situation; so treat is as a starting point or learning concept to apply to your unique situations, and consider this inspiration but not prescription or explicit direction.


