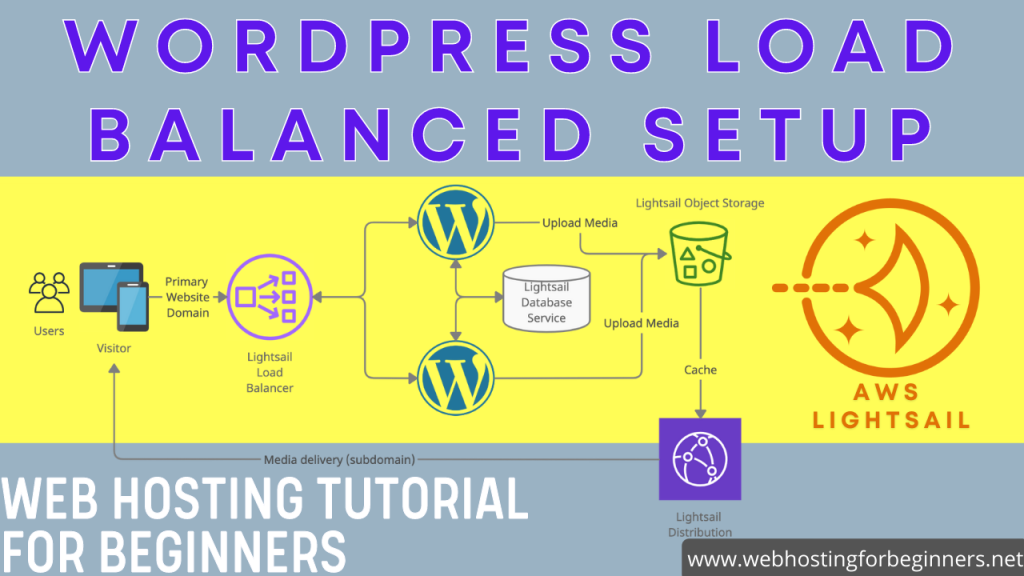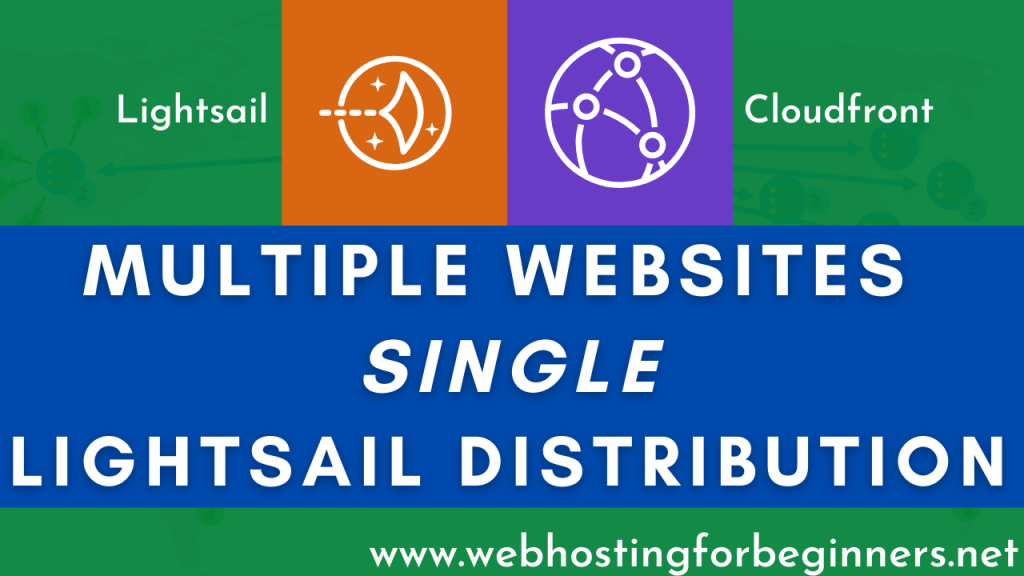
In the video below we’ll take a look at configuring the Lightsail CDN for multiple websites. For those that are not aware CDN stands for (Content Delivery Network) and can be used to cache static files assets and hopefully speed up your websites. Some of you in the past have asked if the Lightsail CDN service can be configured for mutiple websites on a single server. So If you have a single Lightsil server instance and host multiple websites on that server with maybe a tool like Cpanel, Plesk or you may have followed one of my previous videos. There isn’t a documented way to use Lightsail CDN for multiple websites.
Tutorial Steps:
- Have two websites on the same instance sharing the same IP.
- Create a CDN Distribution network
- Point to the Instance
- Best for WordPress Caching Behavior
- Wait for status to be enabled
- Create Certificates
- Primary domain put one domain
- Set certificate name
- For Alternate domains for your other website that is on the instance.
- Only up to 9 optional domains can be added so keep that in mind.
- Setup the CNAME Records for verification
- Wait for verification
- Enable Custom Domains
- Wait for status to be enabled
- Update wp-config.php if you are using HTTP (ONLY IF you didn’t have SSL in the first place, read full description at: https://lightsail.aws.amazon.com/ls/docs/en_us/articles/amazon-lightsail-editing-wp-config-for-distribution)
- Delete these lines if they are present:
Delete the following lines of code in the file.

define('WP_SITEURL', 'http://' . $_SERVER['HTTP_HOST'] . '/');
define('WP_HOME', 'http://' . $_SERVER['HTTP_HOST'] . '/');- Add these lines
define('WP_SITEURL', 'https://' . $_SERVER['HTTP_HOST'] . '/');
define('WP_HOME', 'https://' . $_SERVER['HTTP_HOST'] . '/');
if (isset($_SERVER['HTTP_CLOUDFRONT_FORWARDED_PROTO'])
&& $_SERVER['HTTP_CLOUDFRONT_FORWARDED_PROTO'] === 'https') {
    $_SERVER['HTTPS'] = 'on';
}- Update DNS for both the domains to point to the cloudfront URL found on the Distribution page.
- Verify and Test that the CDN is working using Browsers’ Dev Tools (CTRL + SHIFT + I)
- To add new domains, duplicate the certificate
- Add your new domains for your new website
- Setup the CNAME for the new domain
- Wait for status to be enabled
- Disable Custom Domains
- Delete the old Certificate from Distribution page
- Wait for Status to be enabled.
- Enable Custom Domains again
- Wait for Status to be Enabled.
- Update wp-config for the new website with steps 13 and 14 above.
- Update the DNS to be CNAME for the new domain similar to step 16.
All videos tutorials on the website as well as the YouTube channel aim to provide a simplified process for a specific scenario; there could be many different factors and unique use cases you may have. The tutorials may not cover every situation; so treat is as a starting point or learning concept to apply to your unique situations, and consider this inspiration but not prescription or explicit direction.