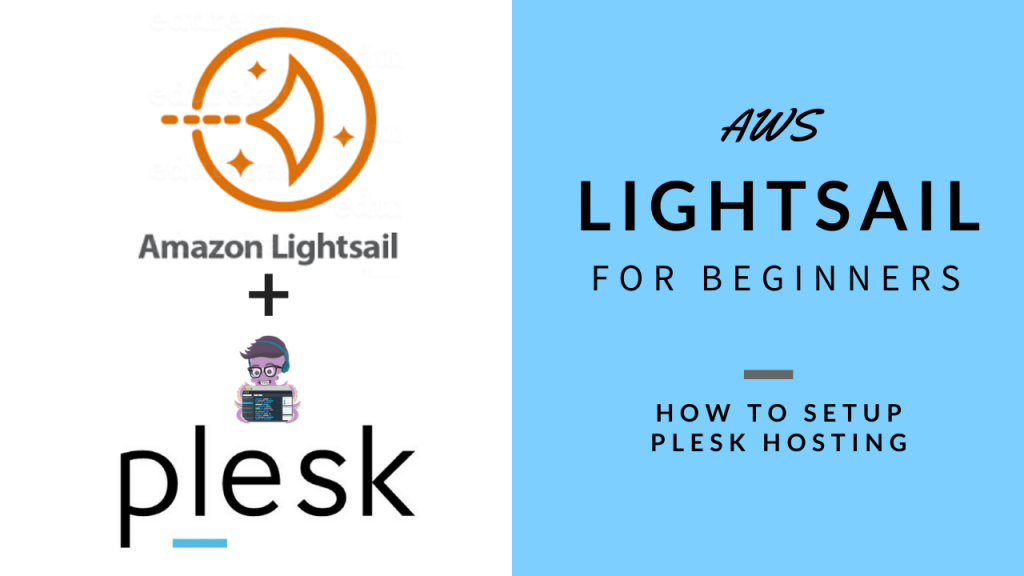
In this Episode of AWS Lightsail for Beginners I’ll walk you through on how to setup Plesk Hosting using the Lightsail Plesk Hosting Stack for Ubuntu. This was recently introduced and so I show you how to setup your own Plesk Hosting to host multiple WordPress websites. Enjoy. If you find this video useful consider subscribing, sharing with others and hitting that like button!
What is Plesk?
Plesk is a centralized management software for servers meant for hosting websites
Plesk provides a GUI Interface, a visual layer on top of the various software componentsadm that have to be configured to run websites. It is especially useful for websites that run on software like WordPress, which in turn runs on what we call a LAMP stack, Linux, Apache, MySQL and PHP. Such an environment would need variety of configuration at the server level, and having a UI layer on top of those helps to easily create/manage and maintain websites. I’d like to mention there are other tools, such as cPanel, ServerPilot and RunCloud. I’ve done several videos on how ot setup ServerPilot and RunCloud on this channel.
What is Plesk on Lightsail
AWS Lightsail recently launch an image that allows us to create a lightsail instance with a basic version of Plesk configured. Its’ called Plesk Web Admin SE. It is a free version of Plesk and has some limitations. What they say is it is best used by people who need just basic management or who are just trying it out before buying the Full license of Plesk. The biggest limitation is 3. You can host 3 domains. Within each domain you can have only 3 email mailboxes. You can only have 3 domain aliases.
Steps in the video:
- Setup instance with Plesk Hosting as the OS+App option
- Setup Static IP
- Ensure it is Attached to the instance.
- Instructions say to open Ports in the Firewall…check if that is there.
- SSH using Web Console in Lightsail
- DNS of subdomains separate: run: /usr/local/psa/bin/server_pref -u -subdomain-dns-zone own
- Run sudo plesk login
- Copy Link and replace IP.
- Setup admin password.
- Screen will show initializing Plesk.
- Update IP Address to the static one in Tools Settings
- Add New Domain.06350394
- Setup DNS Zone in Lightsail
- Discuss mail option included but prefer 3rd party cloud mail service.
- Lets Encrypt Setup.
- Show Tools & Settings.
- Setup WordPress Site and show WordPress toolkit
- Service Management, turn off any services not used.
- Use custom hostname change hostname: (https://docs.plesk.com/en-US/onyx/advanced-administration-guide-win/system-maintenance/changing-your-server%E2%80%99s-host-name.49562/)
To access Plesk Panel in the Amazon Lightsail instance:
- Go to Amazon Lightsail Home, https://lightsail.aws.amazon.com.
- Under “INSTANCES”, click the name of the desired instance, then go to the
“Networking” tab. - Under “Firewall”, click “+Add another” and specify the following ports:
- 53/udp (DNS Server)
- 53/tcp (DNS Server)
- 8443/tcp (Plesk Panel)
- 8447/tcp (Plesk Installer)
- Click “Save”.
- In the command line of instance OS run the following command: $ sudo plesk login
A one-time login link will be generated. Use it to access Plesk Panel as an administrator. Use the built-in clipboard to copy the link, if you are using browser for connecting to SSH.
You can change this message by editing the file /etc/motd. To run a command as administrator (user “root”), use “sudo “.
Your Plesk instance is ready to go. To start working with Plesk, you need to allow access to the Plesk Panel through the Lightsail Firewall. To do this, follow the steps below or visit the default server page for the visual assistance by opening the public IP address of your Lightsail instance in the browser. After everything is set up, you can start managing your Hosting Stack, create websites, deploy web applications and so on.
All videos tutorials on the website as well as the YouTube channel aim to provide a simplified process for a specific scenario; there could be many different factors and unique use cases you may have. The tutorials may not cover every situation; so treat is as a starting point or learning concept to apply to your unique situations, and consider this inspiration but not prescription or explicit direction.