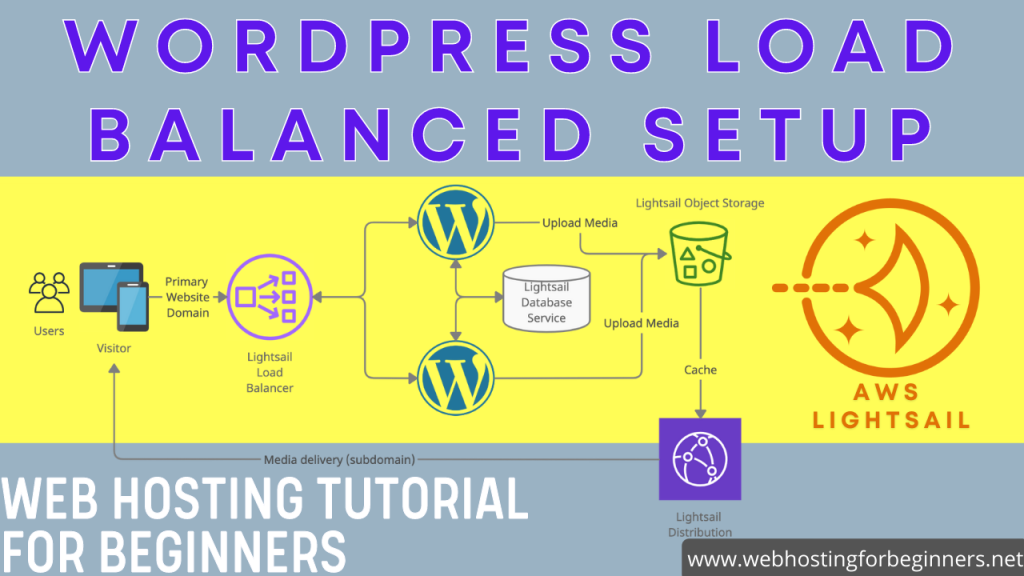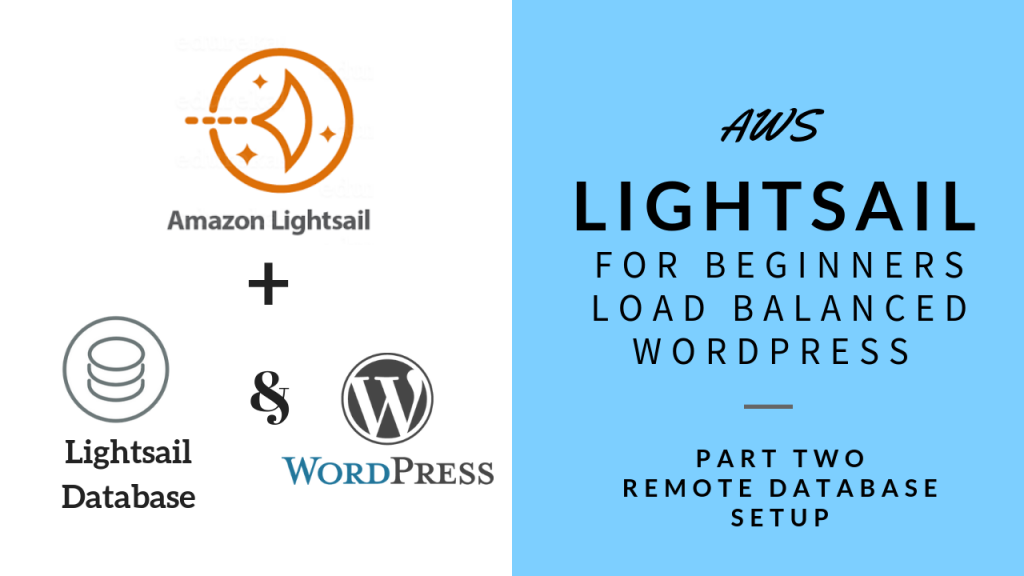
This is the 2nd episode of the tutorials where I show you how to setup a High Availability Load Balanced WordPress website using Lightsail. In this video we setup a Lightsail Database service, Export database, and import database into the new Database service. At the end of this video we have a WordPress site that uses S3 for File storage and LightSail Database for remote data storage.
Steps in this video:
- Create a Database service in Lightsail
- Export our WordpRess database from the existing WordPress website
- Import the database into the new Database service
- Update the Connection string in WordPress
- Finally test that WordPress website is still functioning.
Export MySQL command used in the video:
mysqldump -u root -p bitnami_wordpress [right angle bracket] wpdatabase.s
ql --databases --add-drop-database
Remember to replace the name of the database to match your database name and also the export file name.
To Import the Database, use these commands:
Login to Mysql Server:
mysql -u dbmasteruser -p -h yourmysqlhostnamehere

\. databasefilename.sql
Hope this is useful. If you have any questions or run into issues, comment below. I’ll try to help best as I can.
All videos tutorials on the website as well as the YouTube channel aim to provide a simplified process for a specific scenario; there could be many different factors and unique use cases you may have. The tutorials may not cover every situation; so treat is as a starting point or learning concept to apply to your unique situations, and consider this inspiration but not prescription or explicit direction.